AXAF HXDS Calibration
at PTB-BESSY PageCalibration Test Run
#3
Test Plan Outline.
The attached test plan outline is presented here as an overview of what
we plan to accomplish.
Week I. (18Jan-24Jan, 1998)
Test Setup
We arrived in Berlin on Sunday, 18January after flying through the night
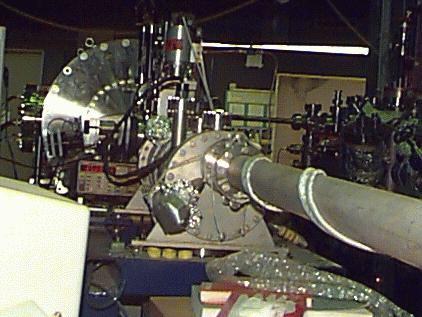
as usual. Monday morning we began setup at 8:30am on the KMC beamline and
finished at 10:30pm, leaving the test chamber to pumpdown over night. The
two FPC's (fpc_x2 and fpc_hn) are mounted inside the test chamber on a
Y-Z stage assembly. The portable gas system is supplying gas (P10) to the
two FPC's at a pressure of 400 torr. Five of our test filters are
mounted to a linear slide assembly in front of the test chamber. The
PTB installed "getter" pump on our test chamber door did not
improve overall pumping capacity because we could not get into the low
10-6 torr range where it starts working efficiently. Also, the "getter"
pump proved too noisy for our detectors ... it will be removed for the
next setup. A vacuum of 1x10⁻⁵ torr was reached and we were given approval
to open our test chamber to the KMC beamline.
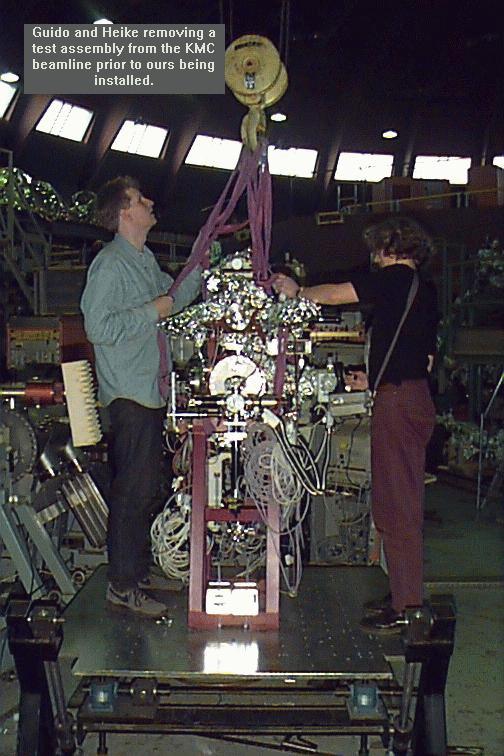
- Pic01. Guido and Heike removing
their PKK (Photo Kathoden Kammer) test assembly from the KMC beamline.
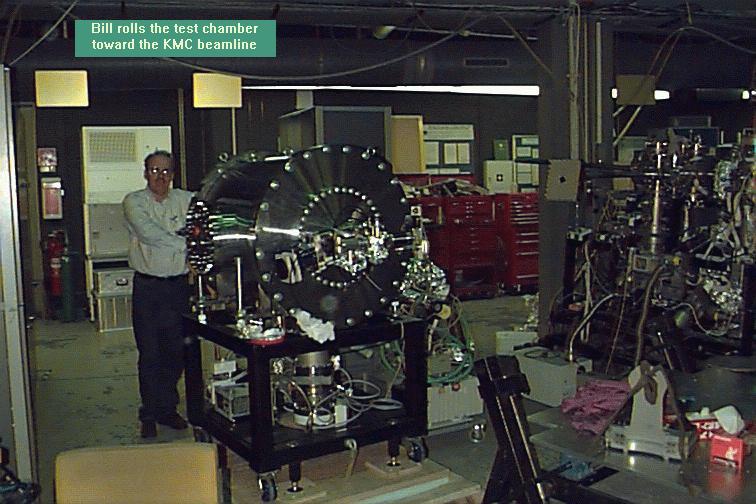
- Pic02. Bill Brymer wheeling our
test chamber assy to the KMC setup area.
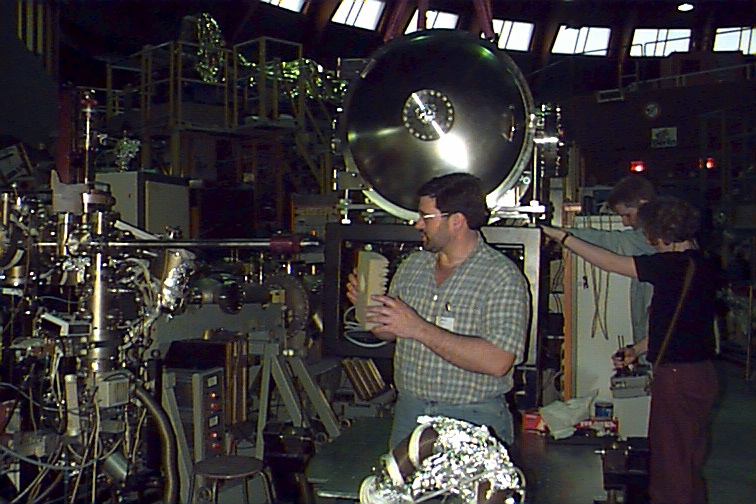
- Pic03. Tim trying to put back
some piece of someone elses beamline before they find out it's missing.
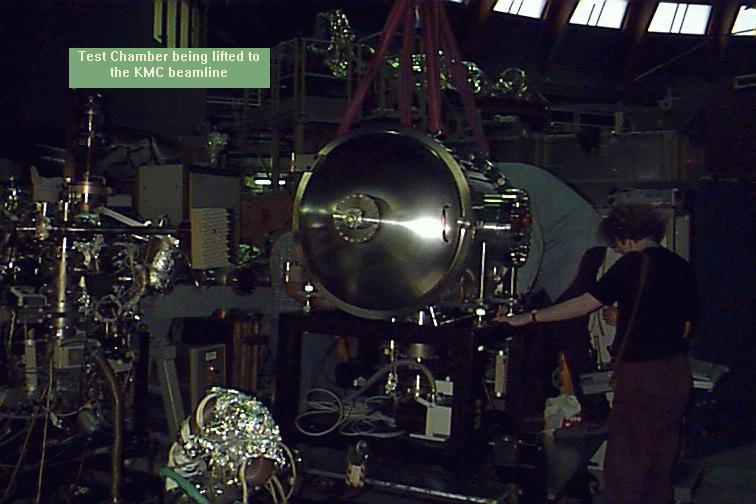
- Pic04. Positioning our test chamber
onto the KMC beamline by crane.
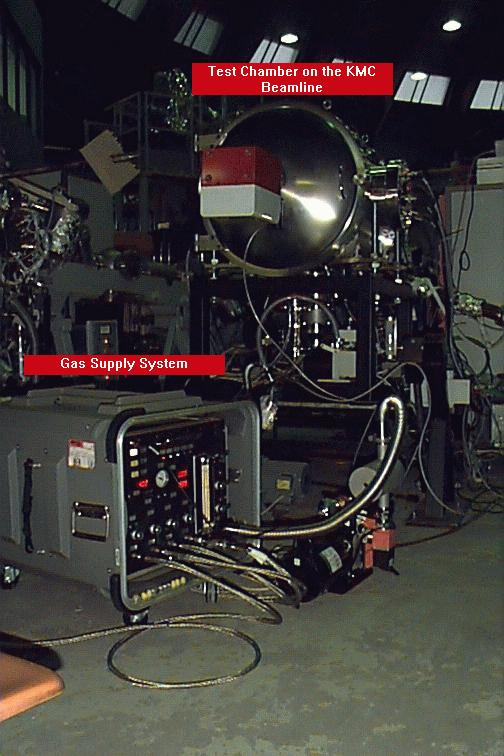
- Pic05. Test chamber is all setup,
closed, getter pump added, and gas system in place ... all ready for pumpdown.
- Pic06. A side view of the setup.
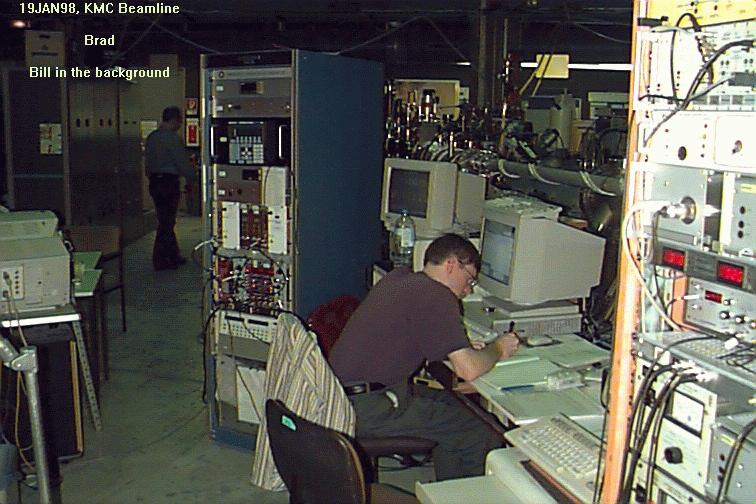
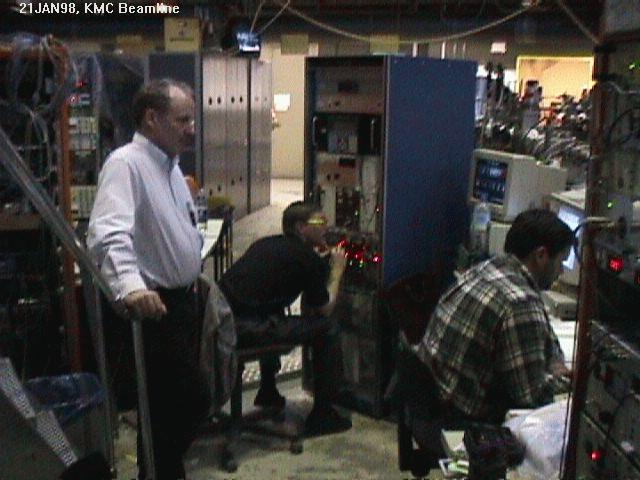
- Pic07. Brad working the computer
side of things.
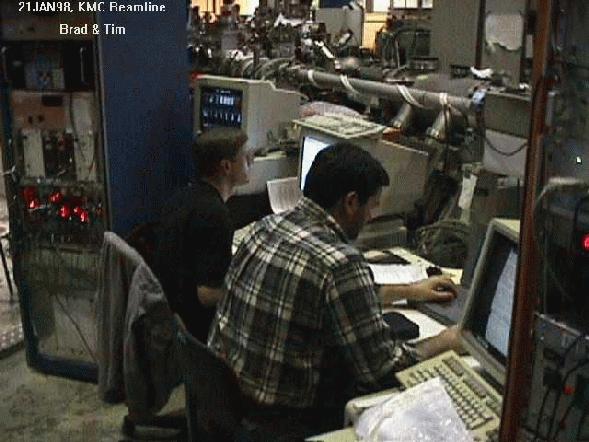
- Pic08. Brad and Tim sitting at
the operations center.
- Pic09. Brad, Tim and Bill ....
what's the next move?
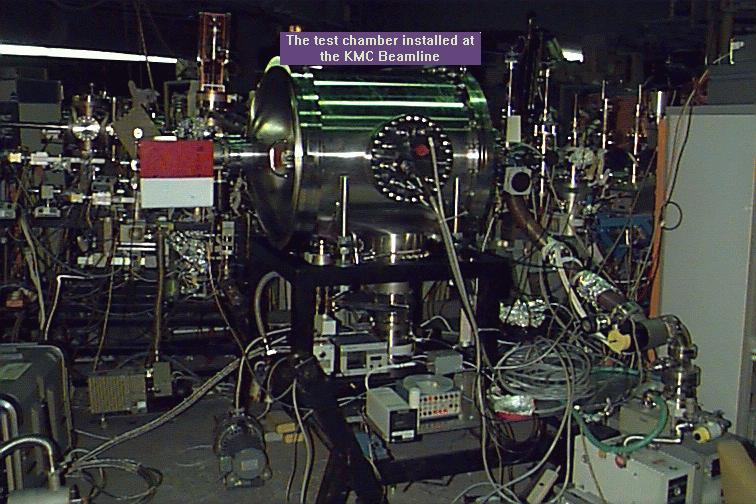
- Pic10. Side view of the test chamber
on the KMC line.
- Pic11. I think we're in trouble
now ...
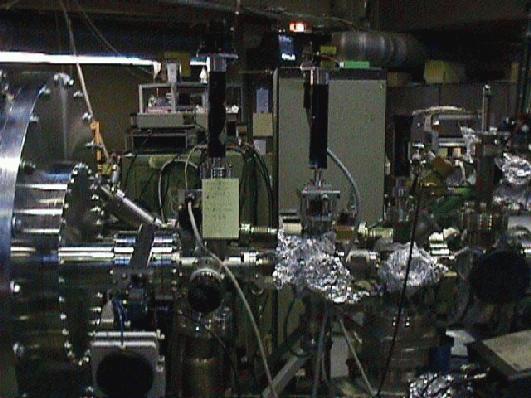
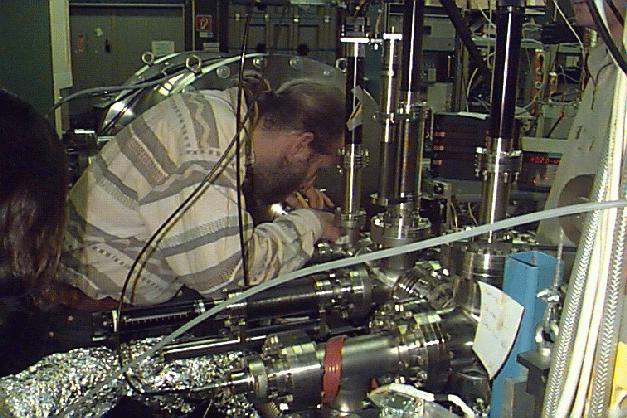
- Pic12. A close view of the aperture
and filter crosses in front of the chamber.
- Pic13. Bill trying to decipher
the voice message over the intercom ... what does "Achtung!"
mean again?
- Pic14. Another view of the front
of the chamber.
- Pic15. And, in case you missed
it before, another side view of the chamber.
Week II. (25Jan-31Jan, 1998)
Test Setup
We arrived at the PTB-BESSY facility early on Saturday morning to remove
the test chamber from the KMC beamline and install it onto the white light
beamline. All equipment was succesfully moved over and installed. Ian
Evans was picked up at the airport midday. We started pumping on
the chamber with our turbopump by 3:30pm. The PTB turbopump
failed and was replaced, then the new PTB gate valve installed on our test
chamber door could not be operated because it required a 24 VDC power
supply instead of the 220 VAC supply intended. This would be
rectified on Monday. Pump pressure looked good at 2x10⁻⁶ torr on Monday
and would improve once the PTB pump was made operational. Tuesday
we started a low temperature bake of the test chamber to help outgas all
the cables. We ran a complete system check on Tuesday with few difficulties
(cable connections mostly and two chip replacements). Testing will start
Wednesday evening at 10:00pm and continue for 48 straight hours.
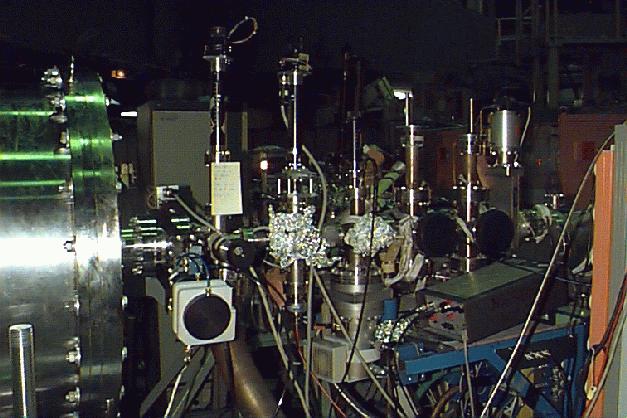
- Pic01, Week II. Apertures installed
into two slide assemblies which will be mounted in front of our test chamber.
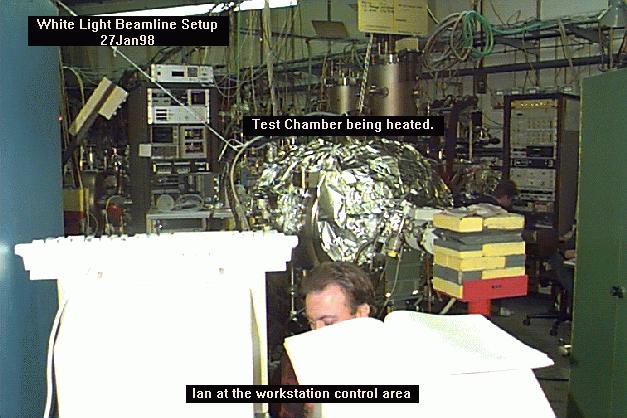
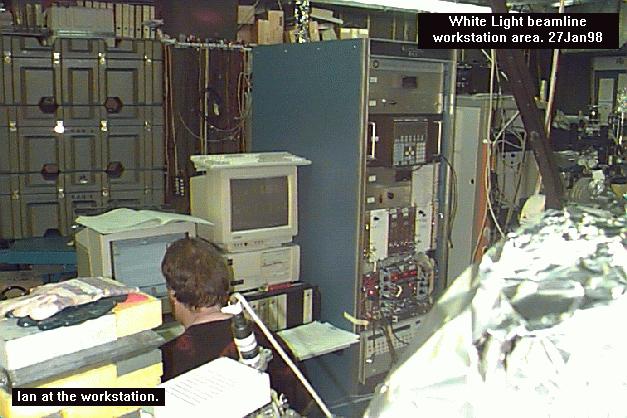
- Pic02, Week II. Ian at the workstations
setup. View of test chamber.
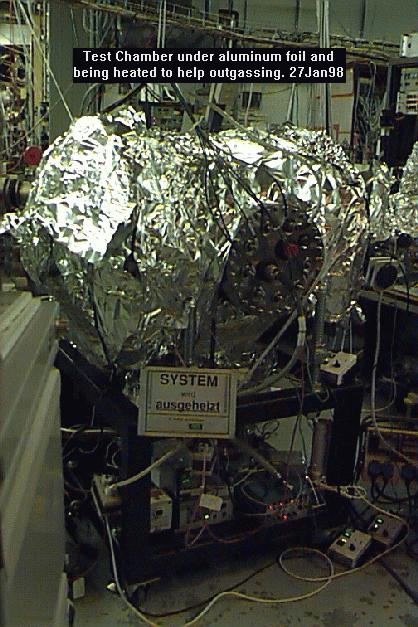
- Pic03, Week II. Test chamber
under foil, being heated to drive off gases which will help acheive lower
vacuum level.
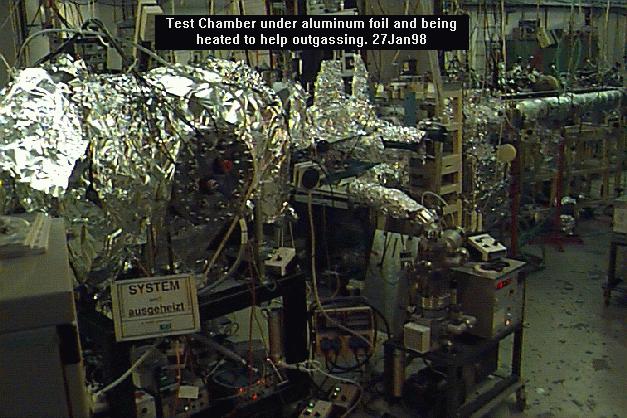
- Pic04, Week II. Another view
of the test chamber under foil.
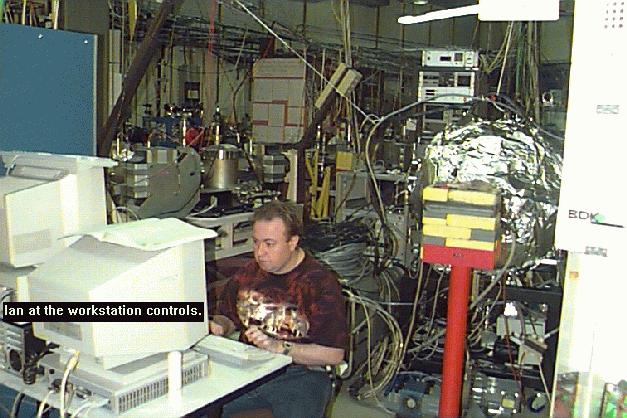
- Pic05, Week II. Ian at the workstation
again.
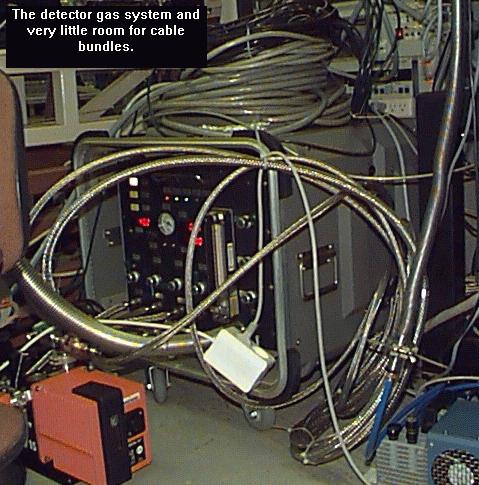
- Pic06, Week II. Gas system setup.
Note the cabling piled everywhere ... there is simply very little room
around the beamline for equipment.
- Pic07, Week II. Ian again
at the workstation. View of shipping containers stacked for storage
behind the workstation.
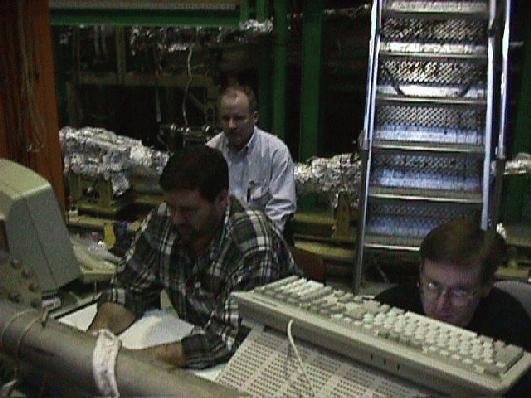
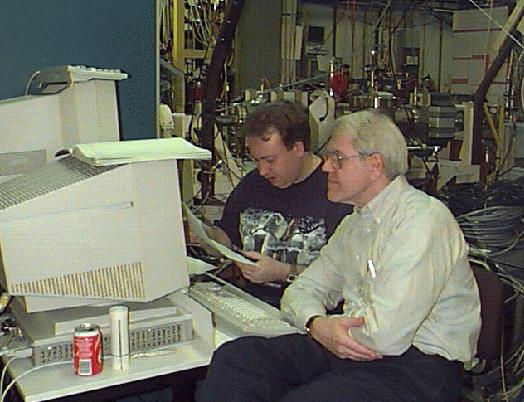
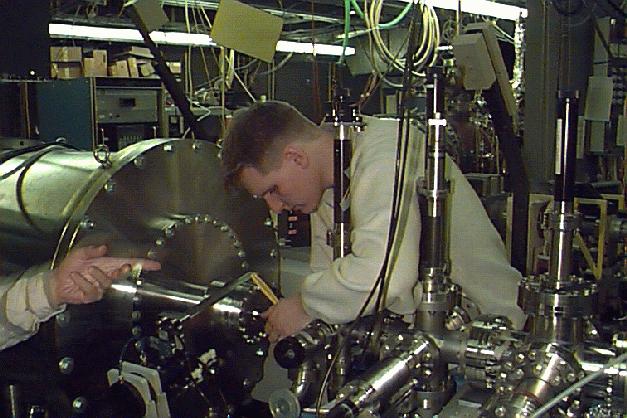
- Pic08, Week II. Ian and Ed Kellogg
reviewing test plans and operations.
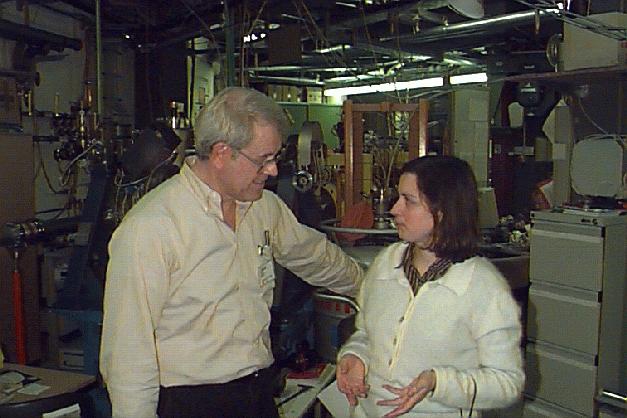
- Pic09, WeekII. Ed reviewing test
progress with Jutta.
- Pic10, Week II. Reiner checking
out the aperture setup.
- Pic11, Week II. Guido having
a look at his setup of the apertures.
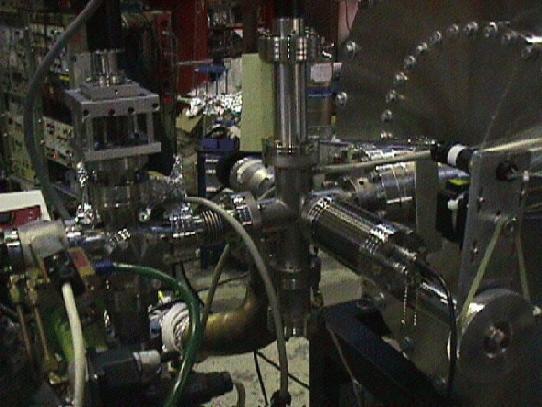
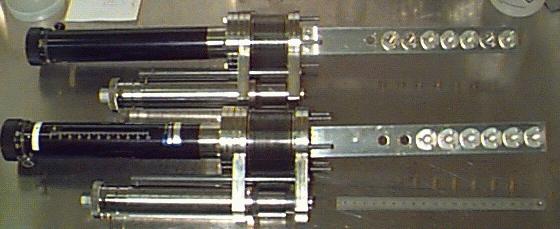
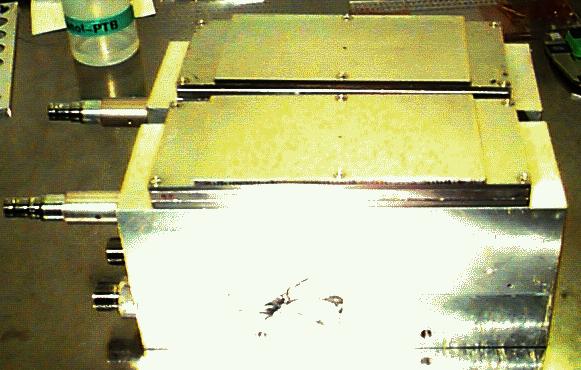
- Pic12, Week II. The FPC's with
the 1.5mm dia blocking plate.
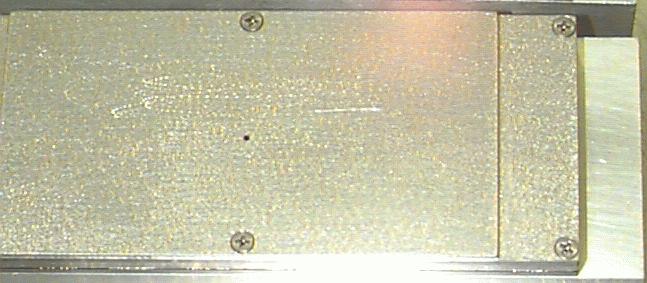
- Pic13, Week II. A close look
at one of the 1.5mm dia blocking plates.
Field Reports
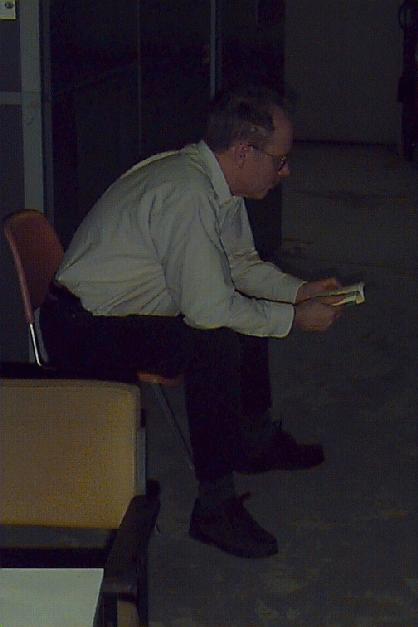
"After Dark03"
What we do when we aren't working ... it's amazing what you can do when
you haven't got much time to do it in .....
This page last updated April 07, 2000